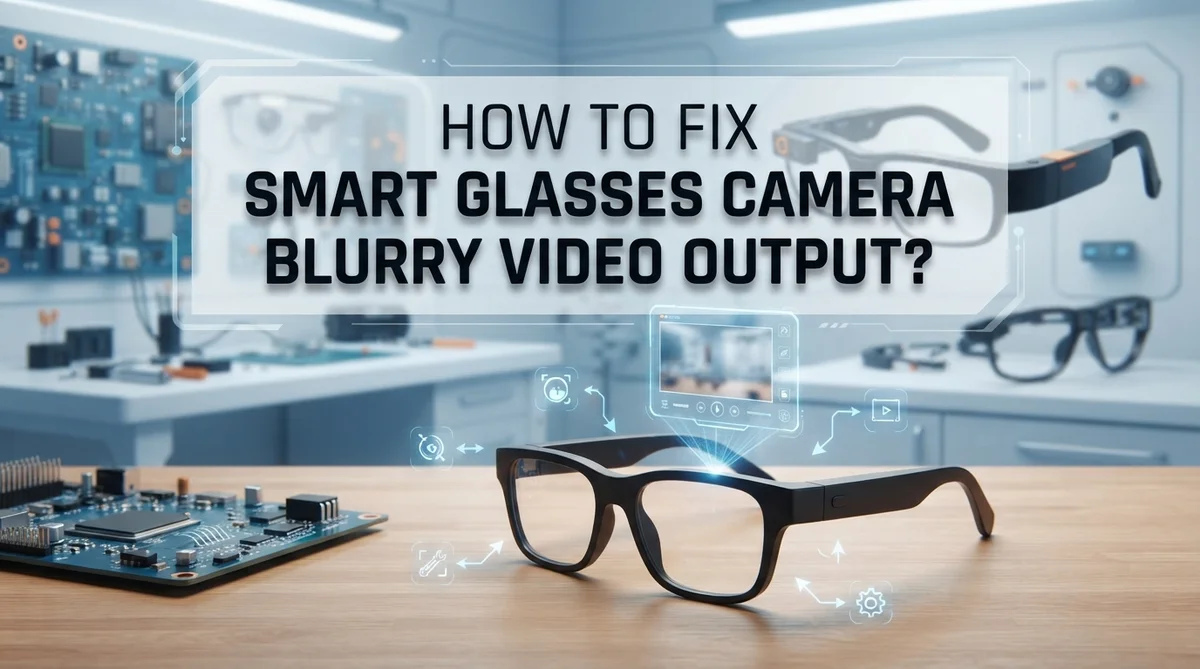
How To Fix Smart Glasses Camera Blurry Video Output?
Smart glasses are a fantastic piece of technology. But a blurry or washed-out video output can quickly ruin the experience.
Many users notice this issue right after setup. The footage looks grainy, colors appear faded, or the video just lacks sharpness. It feels frustrating, especially when you expect crisp, clear results.
The good news? Most causes behind blurry smart glasses video are easy to fix. You do not need special tools or technical skills to solve this.
This guide walks you through the most common reasons your smart glasses camera produces blurry video. You will learn how to clean the camera lens properly, adjust your device settings, and optimize your video configuration through the companion app.
In a Nutshell
- The most common cause of blurry smart glasses video is a dirty camera lens. Fingerprints, smudges, and dust are the top culprits.
- Clean the lens first using the microfiber cloth that came with your glasses. This single step fixes the issue most of the time.
- Check your video settings inside your paired mobile app. Incorrect configurations after setup are a very frequent mistake.
- Device settings matter too. Access your glasses settings through the companion app and review every camera and video option available.
- Multiple device pairings can sometimes affect performance and output quality. Keeping your connection clean and simple helps.
- Dust buildup over time gradually degrades video clarity. Regular lens maintenance is essential, not just a one-time fix.
Why Your Smart Glasses Camera Produces Blurry Video
Your smart glasses camera produces blurry video for several specific reasons. Understanding these causes helps you fix the problem quickly.
Dust and fingerprints on the lens rank as the top culprit. The camera lens sits exposed on your glasses frame. It collects oils from your fingers, dust particles, and environmental debris throughout the day. Even tiny smudges block light from reaching the camera sensor. This creates that foggy, unclear appearance in your recordings.
Incorrect video quality settings cause blurry output too. Your companion mobile app contains video configuration options. Many users leave these settings at default values after initial setup. These defaults may not match your specific device model or usage needs. Adjusting quality parameters directly improves clarity.
Camera focus issues affect sharpness as well. Smart glasses cameras use autofocus systems. When these systems malfunction or miscalibrate, footage appears soft and out of focus. This often happens after the device sits unused for extended periods.
Moisture accumulation degrades video quality significantly. Humidity, sweat, or condensation can form on internal lens elements. This moisture creates a hazy film over the camera sensor. It produces the same blurry effect as external smudges.
Multiple device pairings sometimes interfere with performance. When your glasses connect to several phones or tablets, the system becomes confused. This confusion extends to camera settings and video output quality.
Low lighting conditions expose camera sensor limitations. Your smart glasses camera needs adequate light to function properly. Dim environments force the sensor to increase gain levels. This amplification creates grainy, unclear video.
Outdated device firmware can trigger video problems too. Your glasses require periodic software updates. Older firmware versions contain bugs affecting camera performance. Updating to the latest version often resolves blurry video issues.
Each of these factors works independently or together to reduce video clarity. Identifying which cause applies to your situation lets you apply the right fix.
How To Clean Your Smart Glasses Camera Lens Properly
Your smart glasses camera lens collects dust, fingerprints, and smudges every time you wear them. These particles sit directly on the glass surface and block light from reaching the sensor. The result? Blurry, unclear video footage.
Start with the microfiber cloth that came inside your smart glasses box. This cloth is specifically designed to clean camera lenses without scratching the glass. Never use paper towels, tissues, or your shirt sleeve. These materials can damage the lens coating.
Hold your glasses up to a light source. Look at the camera lens carefully. You will see fingerprints, dust particles, or hazy spots on the surface. These are the exact problems blocking your video clarity.
Gently wipe the lens in circular motions using the microfiber cloth. Apply light pressure only. Do not scrub hard or use excessive force. The goal is to remove debris without creating new scratches.
For stubborn fingerprints or dried residue, breathe warm air onto the lens first. Your breath creates moisture that helps loosen stuck particles. Then wipe gently with the cloth. Repeat this process if needed.
Clean your lens weekly if you wear your smart glasses daily. Regular maintenance prevents heavy buildup that becomes harder to remove. This simple habit keeps your video output sharp and clear.
Store your microfiber cloth in a clean, dry place. Keep it separate from other items in your bag or pocket. Dirt on the cloth defeats the purpose of cleaning.
After cleaning, take a short test video. Check the footage on your phone to confirm the blur is gone. If video still looks fuzzy after lens cleaning, the problem likely lies in your device settings or camera configuration. You will need to adjust those next.
How To Adjust Video Settings in the Meta AI Mobile App
The Meta AI mobile app gives you direct control over your smart glasses video quality. Once you open the app, find the Glasses section in your menu. Look for Device Settings or Camera Settings depending on your app version.
Inside Device Settings, you’ll see several video adjustment options. Resolution settings let you choose between different quality levels. Higher resolution produces sharper video but uses more storage and battery power. Lower resolution saves space but may appear less detailed.
Frame rate settings control how many frames your camera captures per second. Higher frame rates create smoother video during movement. Lower frame rates reduce file size and battery drain. Most users find 30 frames per second works well for daily use.
The video quality slider lets you balance sharpness against file size. Moving it toward maximum quality increases clarity but creates larger video files. Moving it toward minimum saves storage space but reduces detail.
Look for color adjustment options if your videos appear washed out or too dark. Brightness controls help in low light situations. Contrast settings make details pop more in your footage. Saturation controls affect how vivid colors appear.
Some apps include noise reduction settings that help in grainy video situations. This feature smooths out grain but may slightly reduce fine details. Test both on and off to see which works better for your needs.
After adjusting any setting, record a short test video to check the results. Play it back at full resolution to see actual quality. If the video still looks blurry, return to settings and try different combinations.
Save your preferred settings once you find the right balance. The app remembers your choices for future recordings. You can always adjust these settings again if your needs change.
How To Check and Configure Camera Settings for Optimal Clarity
Your smart glasses camera settings directly impact video clarity. Before you assume hardware failure, check these configuration options first.
Access your device settings through the mobile app. Open the companion application on your phone and navigate to the glasses section. Look for camera or video settings in the menu. These options control how your device processes video data.
Frame rate adjustment matters more than you think. Lower frame rates sometimes produce sharper images in poor lighting. Higher frame rates capture more motion but may sacrifice sharpness. Test both settings by recording short clips in your typical usage environment.
Resolution settings affect clarity significantly. Higher resolution captures more detail but requires better lighting. If your videos look blurry in dim conditions, try lowering the resolution. This forces your camera sensor to work more efficiently with available light.
Color balance impacts perceived sharpness. Incorrect white balance makes videos appear washed out or too dark, which reduces clarity perception. Check if your app offers automatic or manual color adjustment. Manual adjustment gives you precise control over how colors appear in your footage.
Exposure settings prevent overexposed or underexposed video. Bright environments sometimes cause your camera to underexpose footage, creating dark and grainy results. Darker spaces may trigger overexposure, washing out details. Adjust exposure compensation if your app provides this option.
Enable any available image stabilization features. Movement blur differs from focus blur. Stabilization reduces shake blur from hand movement or walking.
Check for firmware updates in device settings. Manufacturers release updates that improve camera performance and fix known issues. Updated firmware often includes camera algorithm improvements that enhance video clarity.
After adjusting each setting, record test videos in different lighting conditions. Compare results to identify which adjustments work best for your specific needs. Document your preferred settings for future reference.
How To Maintain Your Smart Glasses Lens for Long-Term Video Quality
Your smart glasses lens needs regular care to keep video quality sharp and clear over time. Dust and debris build up naturally during daily use, and this accumulation directly affects how your camera performs.
Start a cleaning routine that fits your usage patterns. If you wear your smart glasses every day, clean the lens at least once a week. Users who wear them less frequently can clean monthly. This simple habit prevents dirt from hardening on the lens surface.
Use only the microfiber cloth provided with your device. Regular tissues or paper towels can scratch the lens coating. Store your cloth in a clean, dust-free pocket or pouch so it stays ready when you need it.
Environmental factors matter too. Humid conditions, smoke, and pollen can settle on your lens faster. After being in dusty or smoky environments, inspect your lens before your next recording session.
Avoid touching the lens with bare fingers. Oils from your skin create smudges that blur video output. When you must handle the lens, use clean hands or wear the provided cloth as a barrier.
Store your smart glasses in a protective case when not in use. This simple step keeps dust away and protects the lens from accidental scratches or impacts.
Check your video quality every few weeks. Take a short test video and review it on your phone. If clarity has declined, clean your lens immediately. Sometimes what feels like a camera malfunction is simply lens buildup.
Temperature changes can affect lens performance too. Avoid extreme heat or cold exposure when possible. Let your glasses adjust to room temperature before recording important videos.
Regular maintenance prevents most video quality problems before they start. A few minutes of preventive care each week saves you troubleshooting time later and keeps your smart glasses recording sharp, clear videos consistently.
Common Mistakes That Cause Blurry Smart Glasses Video Output
Fingerprints and smudges are the number one reason your smart glasses produce blurry video. You touch the lens with your bare fingers, and oils build up immediately. This creates a film that blocks light from reaching the camera sensor.
Many users forget to clean their lenses regularly. They assume the video quality dropped because of a software issue. In reality, dust and debris accumulate on the glass surface over time.
Incorrect lighting conditions often get overlooked as a cause of blurry output. Your camera struggles when you record in dim environments or harsh sunlight. The sensor cannot capture sharp details without proper illumination.
Some people rush through the initial setup process. They skip the step of checking whether their camera lens is already dirty straight out of the box. Manufacturing dust sometimes sits on lenses before purchase.
Moisture and humidity damage video clarity more than people realize. If you use your smart glasses in humid environments, condensation forms on the lens. This fog effect makes everything appear blurry and washed out.
Neglecting to adjust your device settings after setup is another common error. Default settings rarely match your specific lighting or usage patterns. You need to customize these options for your environment.
Multiple device pairings can reduce video quality unexpectedly. When you connect your glasses to several phones or computers, the connection becomes unstable. This instability causes frame drops and blurry playback.
Not checking your battery level matters too. Low battery power forces your camera to reduce processing power. This results in lower quality video output and graininess.
Finally, users often ignore firmware updates. Outdated software sometimes contains bugs that affect video clarity. Keeping your device current prevents many quality issues automatically.
Troubleshooting Persistent Blurry Video After Basic Fixes
When basic cleaning and simple adjustments don’t fix your blurry video, you need to dig deeper into your device settings. The issue often hides in places you haven’t checked yet.
Start by checking your device’s software version. Open your mobile app and look for any available updates. Outdated software sometimes causes video quality problems. Install any pending updates and restart your smart glasses completely.
Next, reset your camera settings to their default values. Many users accidentally change settings during initial setup. Go to your device settings in the mobile app. Look for a “Reset Camera” or “Restore Defaults” option. This action clears any incorrect configurations that might blur your video output.
Check your video recording format settings. Some formats work better with your device’s hardware than others. Your app should show options like different video codecs or compression levels. Try switching between available formats to see which produces the clearest output.
Examine your device’s storage space. Full storage sometimes causes video quality to drop. Delete old videos or photos you don’t need. Free up at least 20% of your device’s total storage capacity.
Test your smart glasses on a different phone if possible. Connect them to another device using the same app. If video quality improves on the second phone, the problem might be with your original device’s connection, not your glasses.
Check for overheating issues. Your smart glasses camera performs poorly when the device gets too warm. Remove your glasses and let them cool down for 10 minutes. Use them in a cooler environment and see if quality improves.
Finally, contact support if problems persist after these steps. Provide them with specific details about when blurriness occurs. Mention whether it happens in all lighting conditions or just certain situations. Professional support can identify hardware issues that you can’t fix yourself through software adjustments alone.
Final Thoughts
Blurry video from your smart glasses is almost always fixable. The most common causes are simple: a dirty lens, wrong settings, or a missed setup step. Addressing these issues does not require technical expertise.
Start with the basics every single time. Clean your lens first before assuming anything is broken. A quick wipe with a microfiber cloth solves the problem more often than people expect.
Your device settings play a big role in video quality. Always check your camera configuration and video output settings through your connected mobile app. Small adjustments there can make a noticeable difference right away.
Consistency matters more than one-time fixes. Build a simple habit of checking your lens before each use. This prevents most blurry video problems from happening in the first place.
If cleaning and settings adjustments do not help, look deeper. Check your software version, reset your camera defaults, and test with a different paired device. These steps help you identify whether the issue is hardware or software related.
Battery level, storage space, and overheating also affect video clarity. These factors are easy to overlook but can directly impact your output quality. Always rule them out during troubleshooting.
Do not skip the maintenance routine. Dust and debris build up faster than you think, especially with regular outdoor use. A few minutes of care each week keeps your video sharp and consistent.
If problems continue after trying every fix, reaching out to manufacturer support is the right move. Persistent issues after thorough troubleshooting may indicate a hardware defect that needs professional attention.
Smart glasses video quality is manageable with the right approach. Stay patient, work through each possible cause systematically, and you will get clear, sharp video output without unnecessary frustration. The solution is usually simpler than it seems.
Frequently Asked Questions
Why does my smart glasses video look washed out even after cleaning?
Washed out colors often mean your video settings need adjustment. Open your mobile app and go to device settings. Look for video quality or color balance options. Your lighting environment also affects how colors appear on screen. Try recording in different lighting conditions to see if the output improves. Sometimes the issue is simply that your settings default to a lower quality mode.
Can dust inside the camera lens cause blurry video?
Yes, dust and debris accumulate inside the lens over time. This happens faster if you use your glasses outdoors regularly. You cannot easily clean inside the lens yourself. If you notice graininess or persistent blur after external cleaning, dust may be trapped internally. Contact the manufacturer for professional cleaning or inspection. They can safely open and clean the internal components.
What should I check if video quality suddenly gets worse?
First, check your device’s software version. Outdated software can cause performance issues. Next, examine how much storage space remains on your connected phone. Low storage sometimes reduces video quality automatically. Also verify your battery level is adequate. Overheating devices also produce lower quality video. Restart both your glasses and your phone to reset the connection.
Does pairing my glasses to multiple phones affect video quality?
Multiple device pairings can reduce video performance. Each active connection uses system resources. Try disconnecting from unused phones in your Bluetooth settings. Keep your glasses paired to only one phone at a time for best results. This simple step often improves video clarity noticeably.

I’m a tech enthusiast who loves breaking down gadgets, apps, and tools into simple, honest reviews. At GenResizeHub, I help you make smarter buying decisions through in-depth comparisons and easy-to-follow guides. Got a question? Drop me a mail!