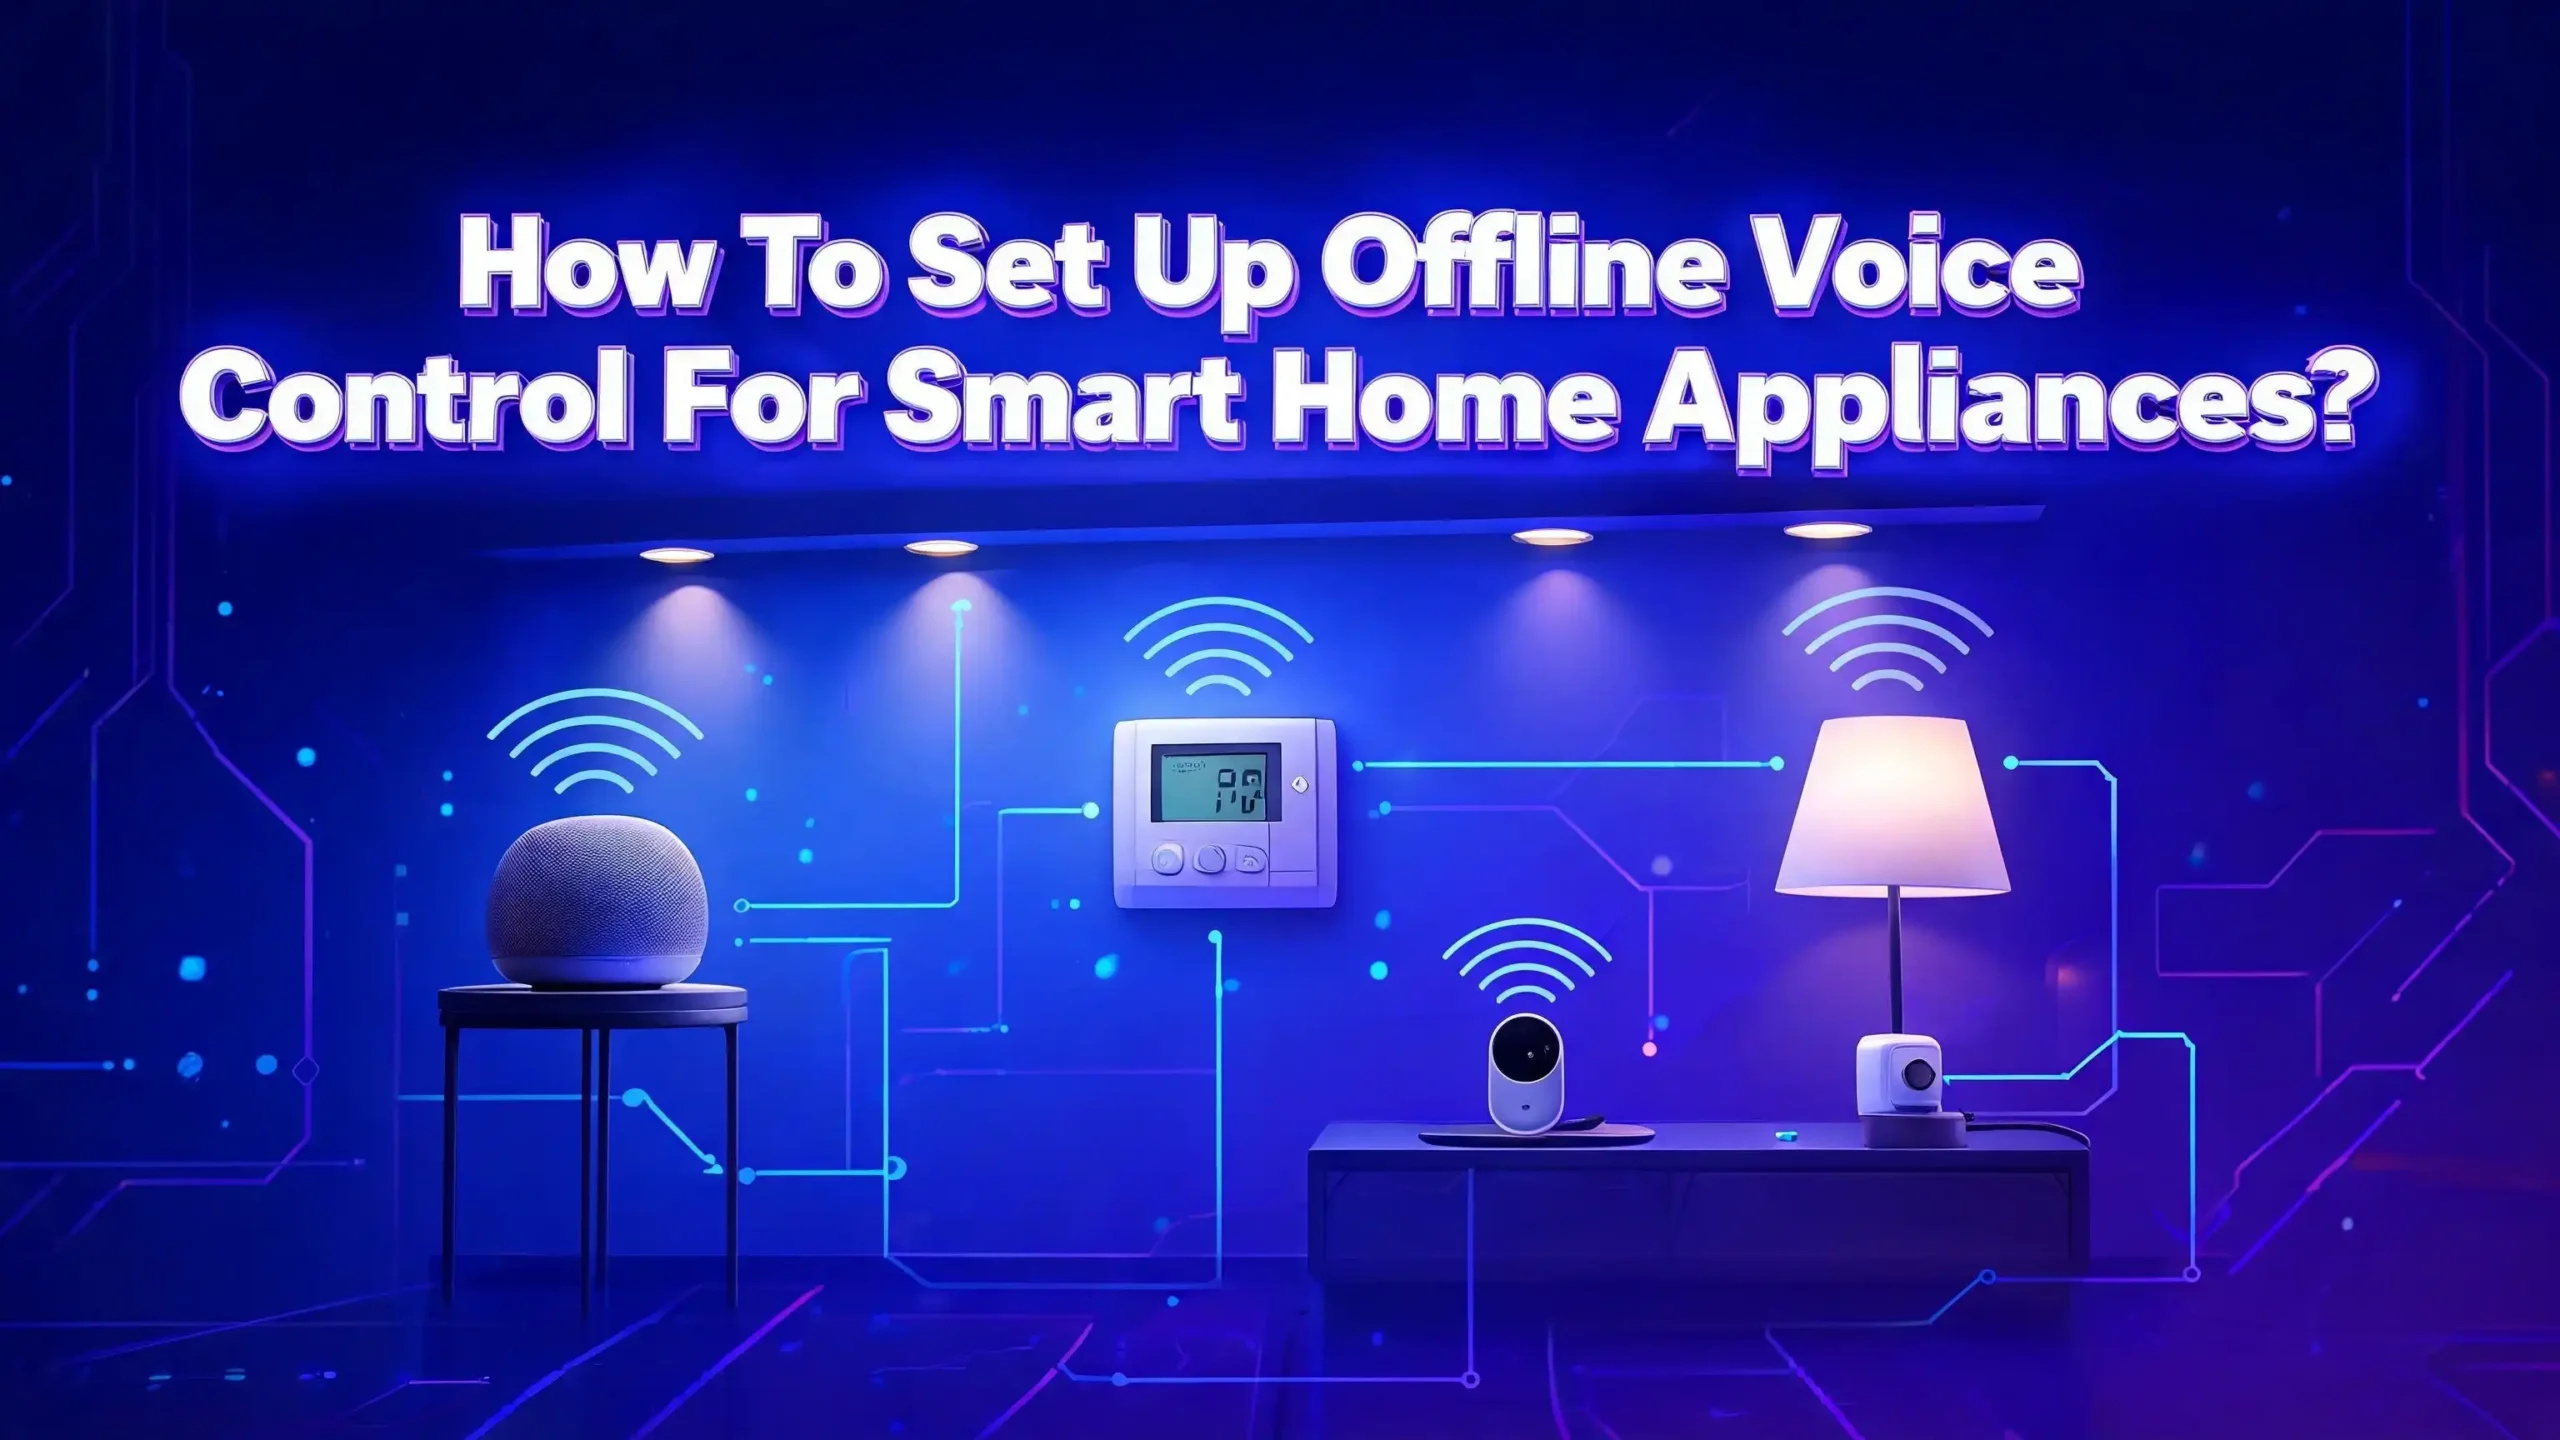
How To Set Up Offline Voice Control For Smart Home Appliances?
You walk into your living room, say “turn on the lights,” and nothing happens. Your internet is down. Your smart speaker sits there, a useless plastic brick because it cannot reach the cloud servers it needs to process a simple command.
Cloud-connected voice assistants like Alexa, Google Assistant, and Siri send every word you speak to remote data centers. These servers process your voice, store your recordings, and build profiles of your daily habits.
Offline voice control changes this completely. Your voice commands stay inside your home. They process on your own hardware. They work during internet outages. They cost nothing in monthly subscriptions. And nobody outside your home ever hears what you say to your appliances.
This guide walks you through every step. You will learn about hardware options, software platforms, setup procedures, and practical tips for making your smart home truly yours.
Key Takeaways
- Complete Privacy: Offline voice control processes every command on your local hardware. No audio recordings ever leave your home network. No third party stores or analyzes your voice data.
- No Internet Required: Your smart home continues to work during ISP outages. Lights, locks, thermostats, and other appliances respond to voice commands even when your broadband connection is completely dead.
- Zero Monthly Fees: Unlike cloud platforms that charge subscription fees for advanced features, local voice control runs on open-source software with no recurring costs.
- Faster Response Times: Local processing eliminates the round-trip delay to cloud servers. Commands execute in milliseconds instead of seconds, which makes voice control feel more natural and responsive.
- Multiple Platform Choices: You can choose from Home Assistant, Rhasspy, ESP32 modules, or Emerson SmartVoice products. Each option fits different skill levels and budgets.
- Future-Proof and Vendor-Independent: Your hardware keeps working even if a manufacturer discontinues a product line or goes out of business. You control the software and the update schedule.
Why Cloud Based Voice Assistants Fail the Privacy Test
Cloud voice assistants operate on a simple but troubling principle. Every time you speak a command, your device records the audio. It then sends that recording over the internet to a corporate data center.
Powerful servers process your voice, convert it to text, determine your intent, and send back a response. The entire exchange leaves a permanent trail on servers you do not own or control.
This model creates three major problems. First, your private conversations get stored on third-party servers. Companies log when you wake up, when you leave home, and what rooms you occupy.
This behavioral data gets analyzed and often sold to advertisers. Second, data breaches expose your information. When corporate servers get hacked, your voice recordings and usage patterns fall into unknown hands. Third, the system stops working the moment your internet connection fails.
Cloud-dependent systems also lock you into subscription models. Brands charge monthly fees for features like video storage or advanced automations. You pay repeatedly for hardware you already bought. An offline smart home eliminates all these problems. Your data stays on your local network. Your devices work during outages. And you never pay a subscription fee again.
What Exactly Is Offline Voice Control
Offline voice control means the entire voice processing pipeline runs on your local hardware. No audio data leaves your home network. The pipeline consists of four main stages. A microphone captures your spoken command.
A wake word detector listens for the trigger phrase like “Hey Assistant.” A speech-to-text engine converts your spoken words into text. A natural language processor interprets the text and maps it to a smart home action. Finally, a text-to-speech engine speaks a confirmation back to you.
All of this happens on a device inside your home. It could be a Raspberry Pi, a dedicated mini PC, an ESP32 chip, or a dedicated smart plug with built-in voice recognition. The key point is that no external server gets involved at any stage.
Modern open-source tools make this possible. Whisper converts speech to text with high accuracy. Piper generates natural-sounding speech responses. OpenWakeWord detects trigger phrases efficiently on low-power hardware. The Wyoming protocol connects all these components into a single pipeline. Home Assistant coordinates the entire system and controls your connected appliances.
This setup gives you a voice assistant that respects your privacy. It responds faster because data never travels across the internet. And it keeps working when your broadband goes down. You sacrifice the ability to ask general knowledge questions like “who won the game last night.” But for smart home control, an offline assistant performs remarkably well.
Hardware Requirements for a Local Voice Assistant
Your hardware choices determine how well your offline voice assistant performs. A slow processor will make voice recognition sluggish. A poor microphone will cause frequent misunderstandings. You need to pick components that match your expectations and budget.
Central Processing Unit Options
A Raspberry Pi 4 or Raspberry Pi 5 offers the most affordable entry point. With 4 GB or 8 GB of RAM, a Pi 4 can run the complete voice pipeline. Expect processing times of around 8 seconds per command with Whisper on a Pi 4. The newer Speech-to-Phrase engine cuts this down to under one second on the same hardware. A Raspberry Pi 5 provides even better performance.
An Intel NUC or similar mini PC delivers much faster processing. With an i3 or i5 processor, Whisper processes commands in under a second. This option costs more but gives you a smoother experience. If you plan to add a local LLM for more natural conversations, you need a machine with a dedicated GPU and at least 12 GB of VRAM. An NVIDIA RTX 3060 or better handles LLM models efficiently.
Microphone and Speaker Options
Your microphone is the most important hardware component. A bad microphone ruins even the best voice pipeline. The ReSpeaker 4 Mic Array connects to a Raspberry Pi over GPIO pins. It offers far-field pickup, noise cancellation, and beamforming. This makes it suitable for medium to large rooms.
The Home Assistant Voice Preview Edition provides an all-in-one satellite device. It includes a microphone, speaker, and a processor that connects to your main Home Assistant server over Wi-Fi. The Seeed Studio ReSpeaker USB Mic Array plugs into any USB port and works with both Raspberry Pi and mini PC setups.
For speakers, a simple USB speaker or a 3.5mm powered speaker works well. The audio output only needs to deliver clear voice responses, not high-fidelity music. You can also repurpose an old Bluetooth speaker connected to your Raspberry Pi over a wired aux cable for better sound quality.
Pros of Raspberry Pi Setup: Low cost (around $60-$100 total), small footprint, low power consumption, large community support.
Cons of Raspberry Pi Setup: Slower processing with larger models, limited to simpler voice commands, may struggle with multiple simultaneous users.
Software Platforms That Power Offline Voice Control
Several software platforms enable offline voice control. Each offers different strengths and fits different user needs.
Home Assistant with Assist
Home Assistant is the most popular open-source smart home platform. It supports over 2,000 device integrations and runs on Raspberry Pi, mini PCs, or virtual machines. Its built-in voice assistant, Assist, now supports fully local processing. You install the Whisper or Speech-to-Phrase addon for speech-to-text. You install Piper for text-to-speech. You add the OpenWakeWord addon for wake word detection. The Wyoming protocol connects everything automatically.
Home Assistant also offers the Voice Preview Edition hardware. This $59 satellite device contains a microphone, speaker, and processor. It connects to your Home Assistant server over Wi-Fi and streams audio for local processing. You can place multiple satellites in different rooms for whole-home coverage.
Pros: Massive community, 2,000+ integrations, regular updates, dedicated hardware satellites, excellent documentation.
Cons: Steep initial learning curve, requires YAML editing for some configurations, needs a dedicated always-on server.
Rhasspy
Rhasspy is a standalone offline voice assistant created by Mike Hansen, the same developer behind Piper and Wyoming. It runs in Docker on Raspberry Pi or any Linux machine. Rhasspy offers complete flexibility. You choose your speech-to-text engine (Kaldi, DeepSpeech, or Whisper). You choose your intent parser. You choose your text-to-speech engine. This modular design lets you customize every aspect of the voice pipeline.
Rhasspy works independently or integrates with Home Assistant through its API. The Docker installation makes deployment quick and self-contained. You access the web interface at port 12101 to configure all settings.
Pros: Highly modular and customizable, lightweight Docker deployment, works standalone or with Home Assistant, excellent for tinkerers.
Cons: Smaller community than Home Assistant, less frequent updates recently, documentation can be fragmented across forum posts.
Mycroft
Mycroft was an early pioneer in open-source voice assistants. The core project lost momentum, but the community fork OpenVoiceOS carries the torch forward. It runs on Raspberry Pi or x86 machines and supports local speech processing. The setup process is simpler than Home Assistant for users who only want voice control without complex home automations.
Pros: Simpler setup for voice-only use cases, good wake word detection, open-source community fork continues development.
Cons: Smaller device integration library, project uncertainty after original shutdown, smaller community for troubleshooting.
Method 1: Home Assistant Local Voice Pipeline
This method gives you the most powerful and flexible offline voice control system. It requires some technical comfort but delivers the best results.
Step 1: Install Home Assistant
Download the Home Assistant Operating System image for your hardware. Flash it to an SD card or SSD using Balena Etcher. Insert the storage into your Raspberry Pi or mini PC and power it on. Wait a few minutes for the initial setup. Open a browser and navigate to http://homeassistant.local:8123. Create your user account, set your home location, and complete the onboarding wizard.
Step 2: Add Your Smart Home Devices
Connect your smart appliances to Home Assistant. Go to Settings, then Devices and Services. Click Add Integration. Search for your device brand or protocol. Popular local protocols include Zigbee, Z-Wave, and Matter over Thread. For Zigbee devices, you need a USB coordinator like the Sonoff Zigbee 3.0 USB Dongle Plus or the Home Assistant Connect ZBT-1. For Z-Wave, use a Zooz 800 Series Z-Wave USB Stick. Plug the coordinator into your server. Home Assistant detects it and prompts you to add the integration.
Pair your light bulbs, smart plugs, switches, thermostats, and sensors. Test each device to confirm it responds to manual control in the dashboard. This step ensures your appliances are ready for voice commands later.
Step 3: Install the Voice Processing Addons
Navigate to Settings, then Add-ons, then click the Add-on Store. Search for and install these addons in order. First, install Whisper for speech-to-text. Choose the tiny-int8 model for Raspberry Pi 4 or the small-int8 model for faster hardware. Second, install Piper for text-to-speech. Select a voice that matches your preferred language and accent. Piper supports English, German, French, Spanish, and many other languages. Third, install OpenWakeWord for wake word detection. The default wake word is “Okay Nabu” but you can change this in settings. Start each addon after installation. Go to Settings, then Devices and Services. Home Assistant automatically discovers each service through the Wyoming integration. Click Configure and then Submit for each one.
Step 4: Create Your Voice Pipeline
Go to Settings, then Voice Assistants. Click Add Assistant. Give your assistant a name like “Local Assistant.” Under Conversation Agent, select Home Assistant. Under Speech-to-Text, select Whisper. Under Text-to-Speech, select Piper. Click Create. Your local voice pipeline is now active.
Step 5: Expose Devices to Voice Control
Go to Settings, then Voice Assistants. Click the Expose tab. Select the devices you want to control by voice. Check the boxes next to your lights, switches, fans, and other appliances. You can also expose entire areas like “Living Room” or “Bedroom.” Exposed devices respond to commands like “turn on the living room lights” or “set the thermostat to 72 degrees.”
Step 6: Add Voice Satellites
Place a Home Assistant Voice Preview Edition in each room where you want voice control. Plug it into a USB-C power adapter. The device appears in Home Assistant under Settings, then Devices and Services. Select Configure and assign it to your voice pipeline. After setup, say “Okay Nabu” followed by a command. The satellite captures your voice, streams it to your server for local processing, and plays the response through its built-in speaker.
Pros: Complete local control, massive device compatibility, dedicated hardware satellites, active development community, regular updates.
Cons: Significant setup time, technical knowledge required, hardware investment for server and satellites, occasional YAML editing needed for advanced features.
Method 2: Standalone Rhasspy Installation
Rhasspy offers a self-contained offline voice assistant that runs in Docker. This method works well if you want a dedicated voice system without a full Home Assistant setup.
Step 1: Prepare Your Hardware
Get a Raspberry Pi 4 with at least 4 GB of RAM. Install Raspberry Pi OS Lite 64-bit. Connect a USB microphone array like the ReSpeaker 4 Mic Array. Follow the manufacturer’s driver installation guide for your specific microphone. Connect a speaker to the 3.5mm audio jack or a USB speaker.
Step 2: Install Docker
Update your system packages first. Then install Docker with the official convenience script. Add your user to the Docker group so you can run Docker commands without sudo. Log out and log back in for the group change to take effect.
Step 3: Deploy Rhasspy
Run the Rhasspy Docker container with the proper configuration. The command maps port 12101 for web access. It mounts a profiles directory to store your settings. It passes the audio devices so Rhasspy can access your microphone and speaker. It sets the language profile to English.
Step 4: Configure the Voice Pipeline
Open a web browser and navigate to http://your-pi-ip-address:12101. Click the settings icon. Select your speech-to-text system. Kaldi works well on Raspberry Pi and offers good accuracy for a defined set of commands. Select your intent handling system. Fsticuffs uses finite state transducers for fast intent recognition. Select your text-to-speech system. ESpeak works on any hardware but sounds robotic. Larynx produces more natural speech but requires more processing power. Configure your microphone and speaker devices in the audio settings. Test each component by clicking the corresponding test button.
Step 5: Define Your Voice Commands
Rhasspy uses sentence templates to define what commands it can understand. Go to the Sentences tab. Create sentences that map to your smart home actions. Write entries like [TurnOnLight](turn on){light} [LightName](the living room light){name}. The software generates all possible variations from these templates and trains the intent recognizer.
Step 6: Connect to Smart Home Devices
Rhasspy communicates with smart home devices through MQTT or HTTP. Install Mosquitto MQTT broker on your Raspberry Pi. Configure Rhasspy to publish intent results to MQTT topics. Set up Node-RED or a custom Python script to subscribe to these MQTT topics and trigger your smart devices through their local APIs. This step requires the most technical effort, but it gives you complete control over how commands translate to actions.
Pros: Extremely lightweight, runs on any Docker host, highly customizable, works independently of other platforms.
Cons: Steep technical learning curve, manual command definition required, smaller community, requires separate device control scripting, less polished interface.
Method 3: ESP32 Offline Voice Recognition Modules
This method uses dedicated voice recognition chips that operate completely independently. It suits users who want a simple, single-purpose solution for controlling specific appliances.
Step 1: Choose a Voice Recognition Module
The Gravity Offline Voice Recognition Sensor from DFRobot includes 121 pre-programmed commands and supports 17 custom commands. It works with Arduino, ESP32, micro:bit, and Raspberry Pi. The SU-03T chip provides another popular option for DIY offline voice control. Both modules process voice entirely on-device with no internet connection required.
Step 2: Wire the Module
Connect the voice recognition module to an ESP32 development board. The module communicates over UART serial. Connect VCC to 3.3V or 5V depending on the module specifications. Connect GND to ground. Connect TX on the module to RX on the ESP32. Connect RX on the module to TX on the ESP32. Solder or use jumper wires for reliable connections.
Step 3: Program the ESP32
Install the Arduino IDE or PlatformIO. Install the ESP32 board package. Write a sketch that reads serial data from the voice module. When the module detects a command, it sends a command ID over serial. Your sketch interprets the ID and triggers the appropriate action. For controlling appliances, connect a relay module to the ESP32 GPIO pins. When a voice command matches, your sketch toggles the relay to turn the appliance on or off.
Step 4: Train Custom Commands
The DFRobot module allows up to 17 custom wake words and commands. Use the manufacturer’s software tool to record your custom command phrases. Upload the trained model to the module over USB. Test each command by speaking into the module’s microphone. The onboard LED indicates when a command is recognized.
Step 5: Integrate with Home Assistant
Add ESPHome to your ESP32. Install the ESPHome addon in Home Assistant. Create a configuration file that defines the UART communication with the voice module. ESPHome reads the serial data and creates sensor entities in Home Assistant. You then create automations that trigger when a specific voice command sensor changes state. This bridges the standalone voice module into your larger smart home system.
Pros: Extremely low cost ($15-$30 per module), instant response, zero network dependency, very low power consumption, simple electronics.
Cons: Limited command vocabulary (121 built-in plus 17 custom), basic functionality, no natural conversation, requires soldering and electronics knowledge, single-room use.
Method 4: Emerson SmartVoice Plug-and-Play Products
Emerson SmartVoice represents the simplest path to offline voice control. These products require no apps, no Wi-Fi, and no hub.
How It Works
Emerson SmartVoice products contain built-in voice recognition chips. When you plug in a SmartVoice smart plug or power strip, the onboard processor immediately begins listening for commands. The device recognizes over 30 preset voice commands without any setup. You simply speak and the appliance responds.
Commands include phrases like “turn on,” “turn off,” “plug one on,” and “plug two off.” The chip processes your voice entirely on-device. No audio data ever leaves the physical product. This approach provides absolute privacy and works during any network outage.
Setup Process
There is no setup process. You plug the SmartVoice plug into a wall outlet. You plug your appliance into the SmartVoice plug. You speak a command. The appliance turns on or off. That is the entire user experience.
Current Product Range
Emerson announced their SmartVoice line at CES 2026. The initial products include smart plugs, power strips, fans, heaters, and air fryers. Each product works independently with offline voice control. Multiple SmartVoice devices can coexist in the same room. Each listens for its specific context commands.
Pros: Zero setup, no internet required, no apps to install, no Wi-Fi configuration, perfect privacy, works out of the box.
Cons: Limited to Emerson’s product ecosystem, fixed command vocabulary, no smart home hub integration, no automations or scenes, higher per-device cost compared to DIY solutions, cannot group devices for multi-device commands.
Choosing the Right Communication Protocol for Local Control
Your offline voice assistant needs a way to actually control your smart appliances. Cloud-based devices use Wi-Fi and proprietary apps. Local control requires different communication protocols that operate without internet access.
Zigbee
Zigbee creates a low-power mesh network that operates independently of your Wi-Fi router. Each powered Zigbee device acts as a repeater, extending the network range. Battery-powered sensors join the mesh without acting as repeaters. Zigbee 3.0 is the current standard and ensures interoperability between different brands.
You need a Zigbee coordinator to manage the network. The Sonoff Zigbee 3.0 USB Dongle Plus or the Home Assistant Connect ZBT-1 plugs into your server. Devices automatically form a mesh when paired. Zigbee offers excellent range, low power consumption, and enough bandwidth for sensor data and simple commands.
Pros: Low power, mesh networking, wide device selection, mature technology, very reliable.
Cons: Requires a dedicated coordinator, 2.4 GHz interference with Wi-Fi possible, some proprietary implementations cause compatibility issues.
Z-Wave
Z-Wave operates on a sub-1 GHz frequency. This avoids Wi-Fi interference entirely. Like Zigbee, Z-Wave forms a mesh network where powered devices repeat signals. Z-Wave Plus v2 and the 800 Series offer improved range, faster communication, and better battery life. Z-Wave certification ensures strict compatibility between all Z-Wave devices.
Pros: No Wi-Fi interference, mandatory certification for compatibility, excellent range, very reliable mesh, strong security.
Cons: Smaller device ecosystem than Zigbee, higher device costs, requires Z-Wave USB stick, regional frequency differences.
Matter over Thread
Matter is the newest smart home standard. It provides a universal application layer that allows devices from Apple, Google, Amazon, and others to work together. Thread provides the low-power mesh network layer. Together, Matter over Thread creates a future-proof local control system.
Pros: Universal compatibility across ecosystems, modern security, Thread mesh is self-healing, backed by major tech companies.
Cons: Still maturing, limited device selection compared to Zigbee and Z-Wave, requires a Thread border router, some features still being developed.
Setting Up Wake Word Detection That Respects Privacy
Wake word detection is the first stage of your voice pipeline. The system must constantly listen for a trigger phrase without sending audio to the cloud. Local wake word engines solve this problem.
OpenWakeWord
OpenWakeWord runs entirely on your local hardware. It uses a small neural network optimized for low-power devices. The model listens for specific phrases like “Okay Nabu,” “Hey Jarvis,” or “Computer.” You can train custom wake words using the provided tools. OpenWakeWord integrates directly with Home Assistant through the Wyoming protocol.
The engine uses very little CPU. On a Raspberry Pi 4, it consumes less than 5 percent of a single core. This leaves plenty of processing power for the rest of the voice pipeline. You set the wake word in the addon configuration. You can enable multiple wake words simultaneously. The sensitivity slider adjusts how easily the system triggers. Set it lower in noisy environments to reduce false activations.
Porcupine
Porcupine by Picovoice offers another local wake word option. It provides commercial-grade accuracy with a very small memory footprint. Pre-trained wake words include “Alexa,” “Hey Google,” “Computer,” “Jarvis,” and “Porcupine.” Custom wake word creation requires a Picovoice account but the generated models run offline permanently after creation.
Snowboy
Snowboy was a popular open-source wake word detector. The original project is no longer maintained, but community forks keep it functional. It runs on Raspberry Pi and Linux systems. You can train custom hotword models using the Snowboy web interface. The trained model file runs offline without any internet requirement.
Pros of Local Wake Word Detection: Complete privacy, no internet needed, very fast activation, customizable trigger phrases, low resource usage.
Cons of Local Wake Word Detection: Occasional false triggers in noisy environments, fewer available pre-trained wake words, custom training requires effort, accuracy varies with microphone quality.
Configuring Speech-to-Text and Text-to-Speech
The core of offline voice control is the conversion between speech and text. Two engines dominate the local processing space.
Whisper for Speech-to-Text
OpenAI’s Whisper is the most accurate open-source speech recognition model. It supports nearly 100 languages. The model comes in several sizes. The tiny model uses about 1 GB of RAM and runs on Raspberry Pi. The small model needs about 2 GB of RAM. The medium and large models require a GPU for reasonable speed.
On a Raspberry Pi 4, the tiny model processes a short command in about 8 seconds. On an Intel NUC, the same model finishes in under a second. The Speech-to-Phrase alternative restricts the vocabulary to known commands. This restriction makes it blazing fast on any hardware. A Raspberry Pi 4 processes Speech-to-Phrase in under one second. The trade-off is that it only recognizes commands defined in its vocabulary. Open-ended phrases like custom timer names or shopping list items will not work with Speech-to-Phrase.
Piper for Text-to-Speech
Piper generates natural-sounding speech using neural networks. It runs efficiently on Raspberry Pi hardware. The medium quality models produce clear, pleasant voices. High quality models sound nearly human but require more processing power. Piper supports many languages including English, German, French, Spanish, Italian, Dutch, and more.
The response generation is fast. On a Raspberry Pi 4, Piper generates about 1.6 seconds of audio for every second of processing. This means a typical response like “The living room light is now on” plays almost immediately after the command processes. Piper integrates with Home Assistant through the Wyoming protocol. You can also use Piper as a standalone command-line tool for custom projects.
Pros: Natural speech quality, fast generation on modest hardware, wide language support, active development, free and open-source.
Cons: Some voices sound robotic at low quality settings, large high-quality models need more storage, accent options limited for some languages.
Pros and Cons of Offline Voice Control Overall
Every technology involves trade-offs. Understanding these helps you decide if offline voice control fits your needs.
Pros
Total Privacy stands as the primary benefit. Your voice recordings never leave your home. No corporation builds a profile of your daily habits. No human contractor reviews your private conversations.
Reliability improves dramatically. Your smart home works during internet outages. It works when cloud servers go down. It works if a manufacturer discontinues their service. The only point of failure is your local hardware.
Speed increases because commands process locally. Round-trip latency to cloud servers adds 500 milliseconds to several seconds. Local processing reduces this to milliseconds.
Cost decreases over time. You pay once for hardware. Open-source software costs nothing. No monthly subscription fees accumulate. Over years of use, the savings add up to hundreds of dollars.
Control returns to you. You decide when to update software. You choose which features to enable. You own every piece of data your system generates.
Cons
Setup Complexity creates a barrier for non-technical users. Configuring Docker containers, editing YAML files, and troubleshooting audio hardware requires patience and learning.
Limited General Knowledge restricts your assistant. You cannot ask “what is the weather forecast” or “who directed this movie.” Offline assistants excel at home control but lack the vast knowledge graphs of cloud assistants.
Upfront Hardware Cost requires an initial investment. A Raspberry Pi, microphone, speaker, and Zigbee coordinator cost between $100 and $200. A faster mini PC setup costs $300 to $500.
Voice Recognition Accuracy may not match cloud services. Cloud models train on massive datasets and run on powerful servers. Local models sacrifice some accuracy for privacy.
Ongoing Maintenance falls on you. Software updates, hardware troubleshooting, and configuration adjustments become your responsibility.
Troubleshooting Common Offline Voice Control Problems
Even a well-configured system encounters issues. Here are solutions to the most common problems.
Microphone Does Not Pick Up Voice Clearly
Check that the correct microphone device is selected in your configuration. Run arecord -l on Linux to list available audio input devices. Note the card number and device number. Update your configuration with the correct hardware address. Position the microphone away from noisy appliances like fans or air conditioners. A microphone array with beamforming works better in large rooms than a simple USB microphone.
Wake Word Detection Triggers Too Often
Reduce the wake word sensitivity in your addon configuration. A lower number makes the system less likely to trigger on background noise. Try a setting of 0.4 or 0.3 instead of the default 0.5. Place the microphone further from televisions and speakers. Echo and background voices cause false activations. Test different wake words. Some words have distinct phonetic patterns that produce fewer false triggers.
Commands Are Misunderstood Frequently
Switch from the Whisper tiny model to the small model for better accuracy. This requires more RAM but improves recognition significantly. Speak clearly at a moderate pace. Mumbling or speaking too fast reduces accuracy. Add alternative phrasings to your intent definitions. If “turn off the lamp” fails, also add “switch off the lamp” and “lamp off” as accepted commands. Relocate the microphone closer to where you typically issue commands.
Response Times Are Too Slow
Check your hardware specifications. A Raspberry Pi 3 struggles with modern voice models. Upgrade to a Raspberry Pi 4 or 5. Switch from Whisper to Speech-to-Phrase if you only need home control commands. Speech-to-Phrase processes commands in under a second on any hardware. Close other resource-heavy addons and integrations. The voice pipeline needs available CPU and RAM to perform well.
Devices Do Not Respond After Voice Recognition
Verify that the device is properly exposed to your voice assistant. In Home Assistant, go to Settings, Voice Assistants, and check the Expose tab. Confirm the device name matches what you say in your voice command. Rename devices to simple, distinct names like “Living Room Lamp” instead of “Smart Bulb 3.” Test manual control through the dashboard to confirm the device is online and responsive.
Expanding Your Offline Voice System Across Multiple Rooms
A single voice satellite works for one room. A whole-home system requires strategic placement and configuration.
Distributed Satellite Strategy
Place one satellite device in each room where you want voice control. The Home Assistant Voice Preview Edition costs about $59 per unit. Each satellite connects to your central server over Wi-Fi. The satellites only handle audio capture and playback. All processing still happens on your main server. This architecture keeps individual satellites affordable while maintaining full local processing.
Network Considerations
Your Wi-Fi network must handle continuous audio streaming from multiple satellites. Each satellite streams a small audio feed only when activated by the wake word. This is not bandwidth-intensive. However, you need reliable Wi-Fi coverage in every room. A mesh Wi-Fi system helps if your router does not reach all corners of your home.
Room-Aware Commands
Home Assistant supports area-aware voice commands. Assign each satellite to a specific area in your home. When you say “turn off the lights” to the living room satellite, it turns off only the lights in the living room area. This natural language understanding makes multi-room voice control intuitive. You do not need to specify the room name in every command. The system knows which room you are in based on which satellite heard you.
Pros: Natural room-aware commands, affordable satellite expansion, centralized processing keeps costs down.
Cons: Requires strong Wi-Fi throughout home, each satellite needs a power outlet, audio latency increases slightly over Wi-Fi.
Future Trends in Offline Voice Control
Offline voice control is advancing rapidly. Several trends will make local voice assistants more capable and accessible.
Local LLM Integration
Large language models running on local hardware will transform offline assistants. Models like Llama 3 and Mistral support function calling. This allows the assistant to understand complex natural language requests. Instead of rigid command structures, you can say “I’m feeling cold, can you make it warmer in here.” The local LLM understands the intent and adjusts your thermostat. This requires a machine with a GPU and at least 12 GB of VRAM. As hardware becomes more efficient, local LLMs will run on smaller and cheaper devices.
Improved Speech-to-Phrase Technology
The Speech-to-Phrase engine introduced by Home Assistant shows a new direction. Instead of transcribing every possible utterance, it matches spoken audio against a known set of commands. This approach delivers near-instant responses on low-power hardware. Future versions will expand the command vocabulary and add support for more languages.
On-Device AI Chips
Manufacturers are embedding AI accelerators directly into smart home devices. These chips handle voice recognition, wake word detection, and intent processing without a central server. Emerson SmartVoice products demonstrate this trend. Future appliances may include offline voice control built directly into the product.
Pros: More natural conversations, faster responses, lower hardware requirements over time, wider adoption by manufacturers.
Cons: Current LLM hardware requirements remain high, technology is still maturing, some features may take years to reach consumer products.
Frequently Asked Questions
Can I use offline voice control without any technical knowledge?
Some products now offer completely zero-configuration offline voice control. Emerson SmartVoice plugs work right out of the box. You plug them in and start speaking commands. No apps, no Wi-Fi, and no setup required. For broader smart home control covering lights, thermostats, and sensors, Home Assistant has improved its user interface significantly. However, it still asks for some willingness to learn basic technical concepts like addon installation and device pairing.
Will my offline voice assistant work if the power goes out?
No voice assistant works during a complete power outage. The hardware that processes your voice and controls your appliances needs electricity. Consider adding a small uninterruptible power supply to your router and server. This keeps your local voice assistant running for several hours during a power outage. Battery-powered Zigbee sensors and battery-operated smart locks continue functioning even without mains power.
How accurate is offline voice recognition compared to Alexa or Google?
Cloud assistants still hold a slight accuracy advantage. They use massive server farms and vast training datasets. However, the gap has narrowed significantly. Whisper’s small and medium models achieve over 95 percent accuracy for clearly spoken commands in quiet environments. Speech-to-Phrase approaches 99 percent accuracy for its defined command set. For the specific task of home control, offline recognition is now very reliable.
Can I still get weather updates and news with an offline assistant?
Pure offline assistants cannot fetch current weather data, news, or general knowledge because these require internet access. Some users solve this by running a hybrid setup. The voice processing stays local. The assistant only accesses the internet for specific information requests like weather queries. Home Assistant supports this configuration. You keep speech-to-text local and assign a cloud conversation agent only for general questions.
How much does a complete offline voice control system cost?
A basic single-room system with a Raspberry Pi 4, microphone array, speaker, and Zigbee coordinator costs between $120 and $180. Add $59 per room for additional Home Assistant Voice Preview Edition satellites. A faster mini PC system with room for local LLM integration costs $350 to $600. Emerson SmartVoice plugs cost about $25 each for per-appliance control. The system pays for itself by eliminating monthly cloud subscription fees.
Do I need to learn programming to set this up?
Basic setups using Home Assistant’s graphical interface do not require programming. You install addons through the addon store. You configure voice pipelines through the settings menu. You expose devices with simple checkboxes. Advanced customization like custom intent handling or LLM integration asks for some YAML editing and system prompt writing. Start simple and add complexity as you learn. The Home Assistant community forums and YouTube tutorials provide step-by-step guidance for every skill level.

I’m a tech enthusiast who loves breaking down gadgets, apps, and tools into simple, honest reviews. At GenResizeHub, I help you make smarter buying decisions through in-depth comparisons and easy-to-follow guides. Got a question? Drop me a mail!