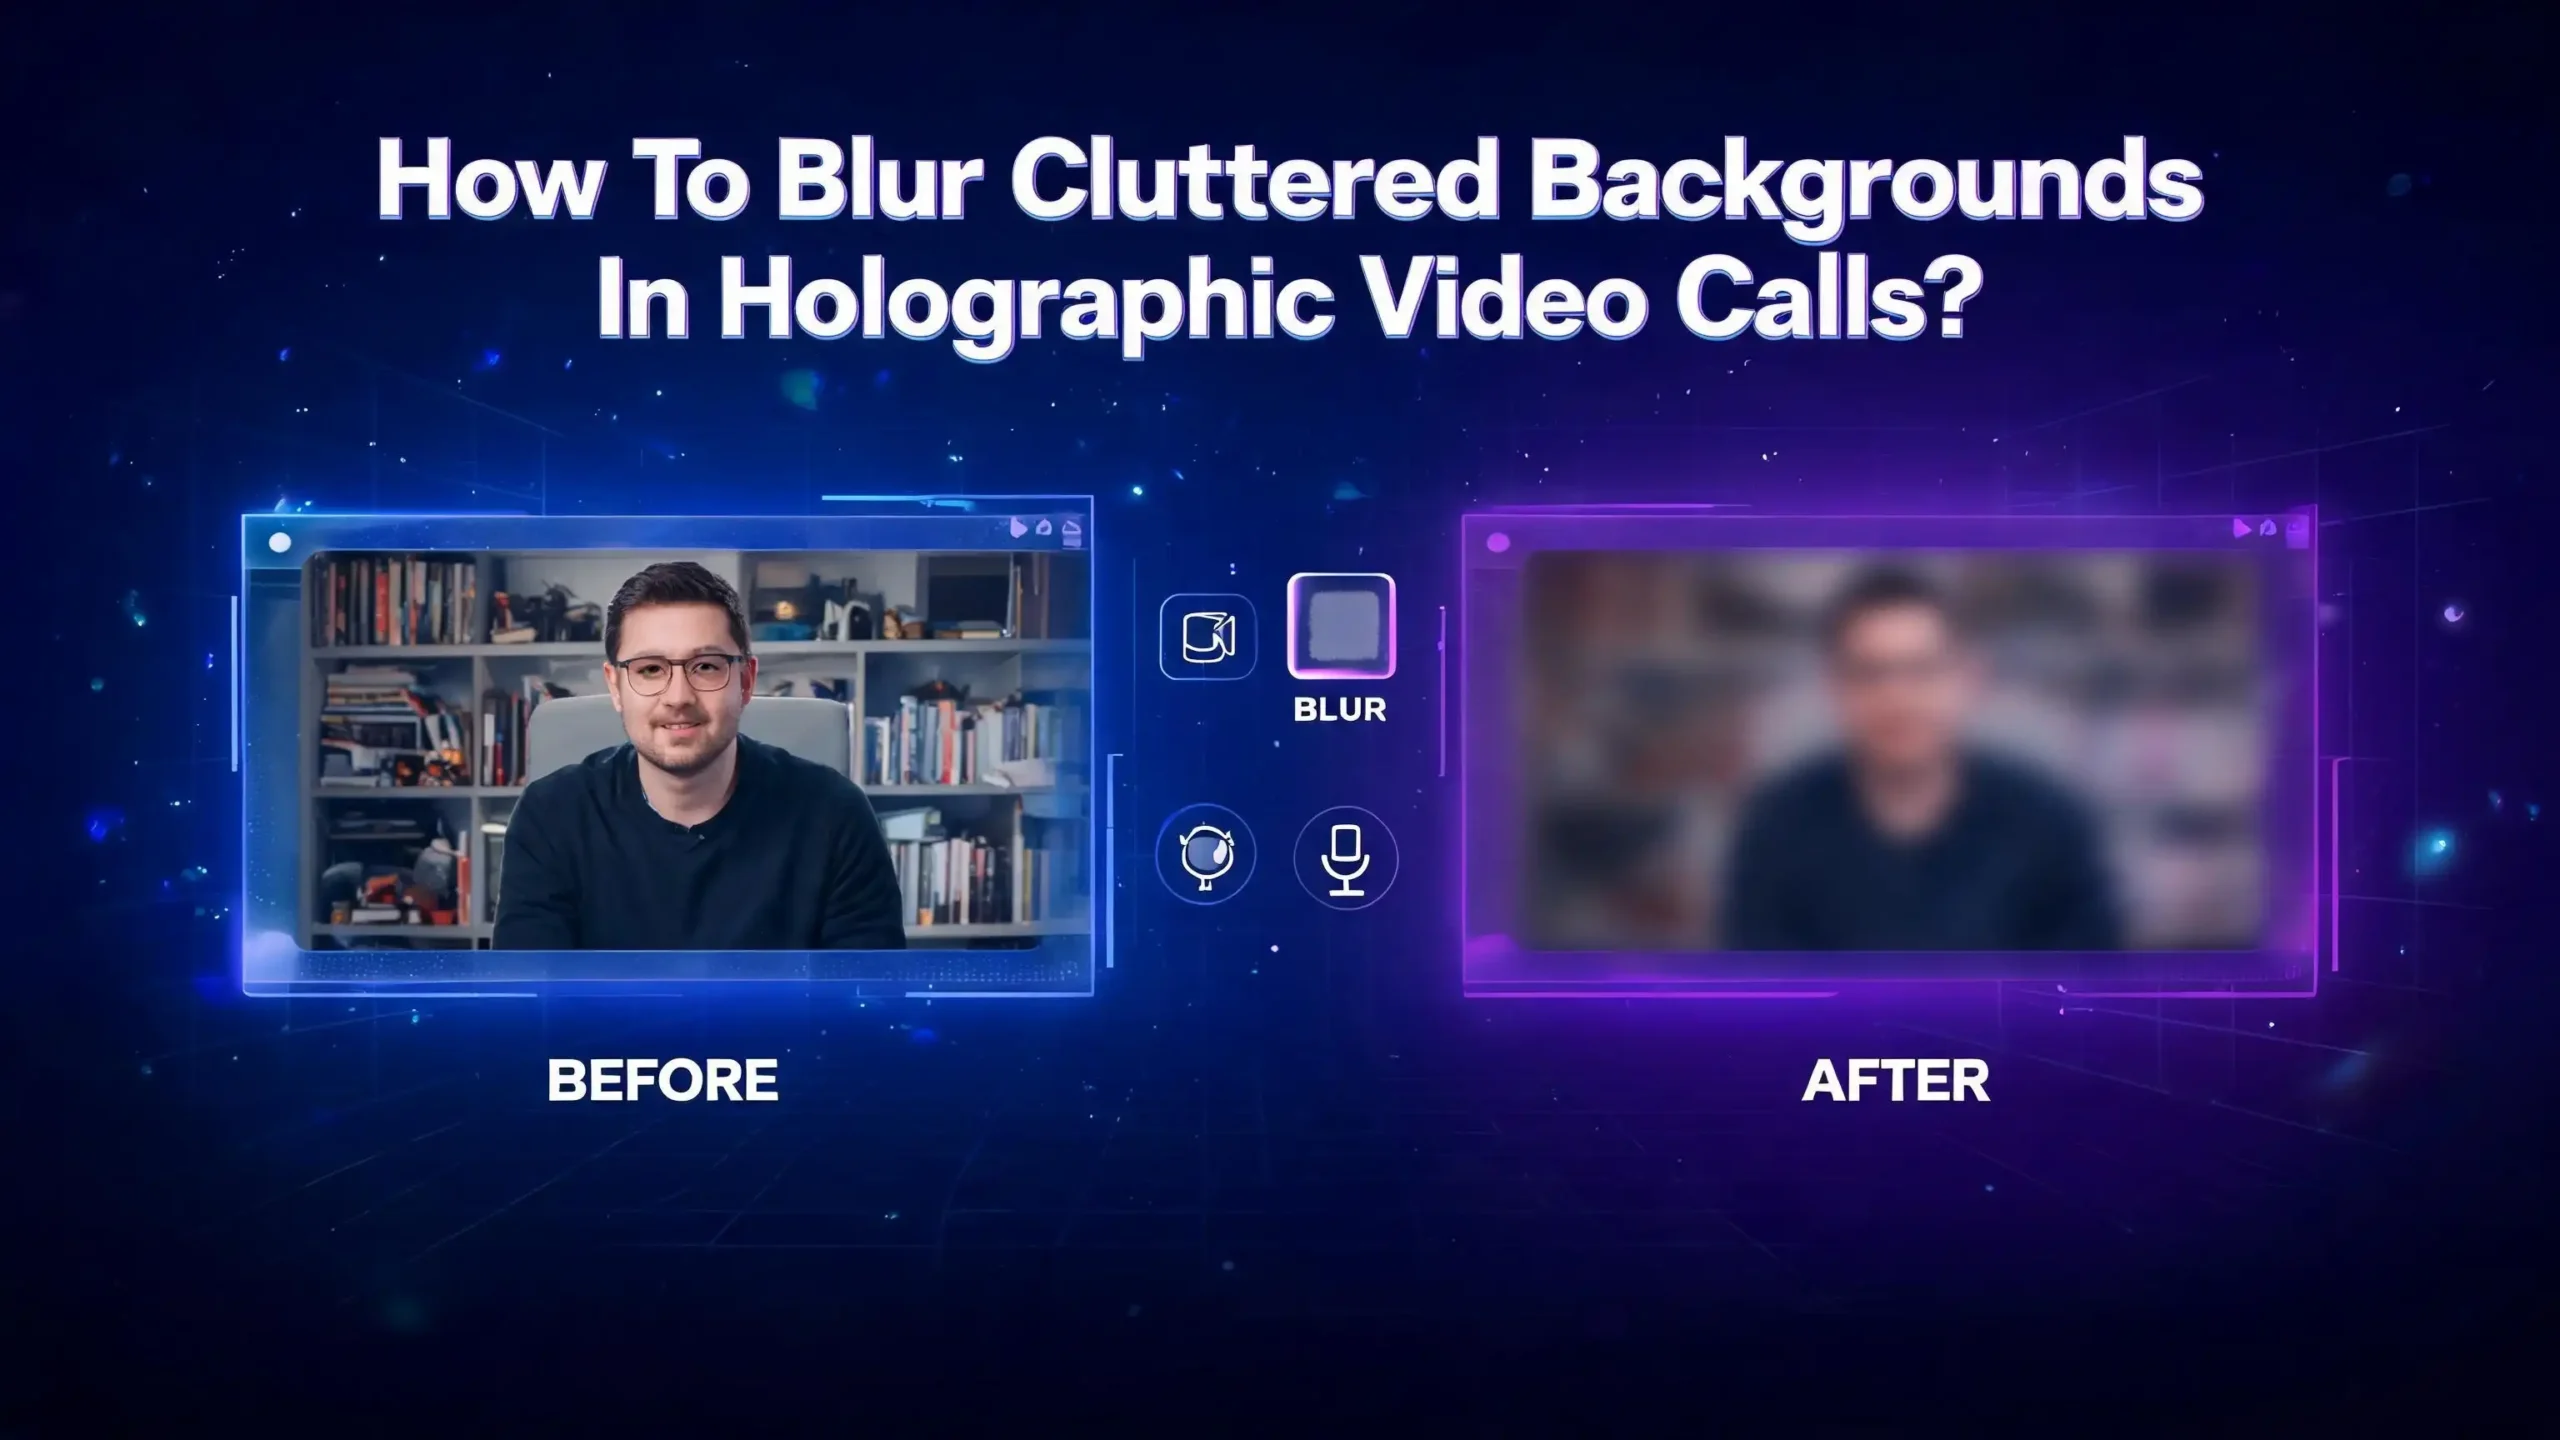
How To Blur Cluttered Backgrounds In Holographic Video Calls?
Holographic video calls are no longer science fiction. Platforms like Google Beam (formerly Project Starline), Webex Hologram, and DVE Holographics are making real-time 3D communication a daily reality for remote teams and professionals across the globe.
But here is the problem nobody talks about enough. A messy, cluttered background does not just look bad on a regular video call. In a holographic call, it gets amplified in three dimensions.
Every pile of laundry, every scattered cable, and every mismatched shelf item appears in vivid, life-sized detail to the person on the other end.
So what can you actually do about it? This guide walks you through every practical, tested method to blur, clean, or replace a cluttered background in your holographic video calls. Whether you use AI-powered tools, physical setups, or platform-level settings, you will find a working solution here.
Key Takeaways
- Cluttered backgrounds in holographic calls are more distracting than in regular 2D calls because the 3D depth rendering exposes background details with greater clarity and realism. A small mess looks like a big mess in holographic space.
- AI-powered background blur is your fastest fix. Tools like NVIDIA Broadcast, built-in platform blur features on Webex and Google Beam, and third-party apps like XSplit VCam can detect and soften your background in real time with no physical setup required.
- Physical solutions still win in quality. A green screen, a solid backdrop, or a neatly organized background gives holographic depth cameras the cleanest signal to work with, producing the sharpest foreground rendering.
- Lighting plays a massive role in how well any background blur tool performs. Proper front lighting separates you from your background and makes AI segmentation far more accurate, which directly improves the quality of the blur effect.
- Camera placement and depth sensor positioning matter. Holographic systems like Google Beam use multiple cameras and depth sensors. Placing yourself at the correct distance and angle from the camera rig dramatically reduces background interference without any software adjustment.
- Platform settings are the most overlooked solution. Most holographic and 3D video platforms already include built-in background blur or virtual background tools. Checking and enabling these settings takes less than two minutes and solves the problem immediately for most users.
Why Cluttered Backgrounds Are a Bigger Problem in Holographic Calls:
In a standard 2D video call, your background appears flat. A messy shelf or a pile of boxes stays in the background and viewers’ eyes tend to stay on your face.
In a holographic call, the experience is fundamentally different. Platforms like Google Beam use six cameras and a light field display to reconstruct your presence in full 3D. This means the system captures spatial depth data, not just a flat image. Your background is rendered with the same three-dimensional accuracy as your face.
A 2024 study published in a peer-reviewed journal examined how background clutter affected visual search behavior in video conferencing environments. The findings were clear: cluttered backgrounds increase cognitive load for viewers, cause them to shift focus away from the speaker, and reduce retention of the information being communicated.
In holographic settings, this effect is even stronger. When a viewer can perceive depth in your background, their brain treats it as part of the shared space. Objects appear close, real, and attention-grabbing. A bookshelf that sits six feet behind you in real life may appear to “float” near your shoulder in the holographic display, pulling the viewer’s eye away from you completely.
This is why fixing your background is not just about looking professional. It is about making your holographic communication actually effective. Every item visible behind you in 3D competes directly with you for your viewer’s attention.
Understanding How Holographic Calls Capture Your Background
Before you fix the problem, you need to understand how holographic systems see your background in the first place.
Standard webcams capture a flat 2D image. Holographic systems like Google Beam use arrays of cameras combined with depth sensors to build a volumetric model of you and your environment. This depth data is what creates the lifelike 3D representation that viewers see.
The depth sensor measures the distance from the camera to every object in the frame. It builds a spatial map that tells the system where you end and where the background begins. When this boundary is clearly defined, the system can isolate you accurately. When your background is cluttered, objects at varying depths create a confusing spatial map.
A pile of items on a desk, for example, exists at multiple depths simultaneously. The system may partially reconstruct some of those items as part of the foreground, making them appear to blend into or “stick to” your holographic image.
Understanding this helps you make smarter decisions about what to fix first. Physical distance from your background, solid colors behind you, and clean spatial separation between you and your environment all make the depth sensor’s job significantly easier. That, in turn, makes every blur or background replacement tool work better.
Using Built-In Background Blur on Holographic Platforms
The fastest solution available to most people requires zero extra hardware or software. Most leading holographic and 3D video platforms already include native background blur settings.
For Webex Hologram: Open Webex and navigate to Settings. Select Video and then find the Background Effects section. You will see options for a blurred background, a virtual background, or a clean background removal. Click “Blur” and adjust the intensity slider to your preference. Webex uses AI segmentation to detect your silhouette and apply the blur only to the area behind you, which works well in most standard lighting conditions.
For Google Beam: The platform’s AI-first architecture handles much of the background processing automatically. Before joining a call, access the video preview screen and look for the Background options. Google Beam uses its AI model to turn 2D streams into 3D, and the background processing layer allows you to select blur intensity. Keeping the blur intensity at medium tends to preserve the 3D effect while softening distracting details.
For other platforms that support holographic or 3D rendering, check the video settings menu before each call. Look for terms like Background Effects, Video Filters, or Camera Settings. Enable blur if it is available. Most platforms update these features regularly, so if you have not checked recently, a new option may already be waiting for you.
This step alone solves the problem for the majority of users. Check your platform settings before moving on to more involved solutions.
Setting Up NVIDIA Broadcast for AI-Powered Background Blur
If your holographic platform does not have a strong built-in blur feature, NVIDIA Broadcast is the most effective third-party solution available for Windows users with an NVIDIA RTX graphics card.
NVIDIA Broadcast uses AI to detect your body in real time and applies background blur, replacement, or removal with a high degree of accuracy. The AI segmentation in NVIDIA Broadcast is particularly effective because it handles edges and fine details like hair much better than older chroma-key-based methods.
Here is how to set it up for your holographic calls. First, download and install NVIDIA Broadcast from the official NVIDIA website. Open the app and click on the Camera tab. Select your webcam or depth camera from the dropdown menu. Under Effects, click the plus button and select Background Blur. Use the slider to set the blur strength. A medium setting works well for most holographic calls because it softens the background without making it look artificially processed.
Next, go to your holographic video call platform’s settings. In the Camera or Video settings section, change your active camera from your physical webcam to the NVIDIA Broadcast virtual camera. This routes your video feed through NVIDIA Broadcast before it reaches your holographic platform, applying the blur before the 3D reconstruction process begins.
This setup works with Google Beam, Webex, and most other platforms that allow you to select a virtual camera device. The result is a consistently clean, blurred background that updates in real time as you move.
Using XSplit VCam and Other AI Background Tools:
For users without an NVIDIA RTX card, XSplit VCam is a strong alternative. It runs on standard CPUs and applies background blur, replacement, and removal without requiring specialized hardware.
Download XSplit VCam and open the application. Select your camera from the input source options. In the background panel on the right side of the screen, choose the Blur option. XSplit VCam gives you a blur intensity slider, which you should set based on how far you sit from your background. If your background is close behind you, use a stronger blur setting to prevent depth bleeding.
For Mac users, Snap Camera and Mmhmm both offer blur and background replacement features that work similarly. Open either app, select your preferred background effect, and then choose the virtual camera output in your holographic call platform’s settings.
Another strong option is Camo, which is designed to use your iPhone as a high-quality webcam and includes portrait mode-style blur powered by the iPhone’s neural engine. Because the iPhone applies the blur at the hardware level, the edge detection is often smoother and more accurate than software-only solutions running on a laptop CPU.
The key principle across all these tools is the same: apply the blur as a camera-level effect, then feed the processed output into your holographic platform. This gives the platform’s 3D reconstruction system a cleaner input to work with, which produces a better final result.
Setting Up a Physical Green Screen for the Cleanest Result
Software blur tools are convenient, but a physical green screen consistently delivers the cleanest, most accurate background removal. For holographic calls, this is especially important because depth sensors work best with clear, unambiguous boundaries between the subject and the background.
A green screen gives the depth sensor and the AI segmentation system a single, uniform color behind you. This makes subject isolation nearly perfect, which in turn makes the 3D reconstruction of your face, hands, and body significantly more accurate.
To set up a green screen for holographic calls, start by choosing a size that covers your full width when you sit or stand in front of the camera. The screen should extend at least one foot beyond your shoulders on each side. Mount it or hang it close enough behind you to keep it within the camera’s field of view.
Even lighting on the green screen surface is critical. Uneven lighting creates dark spots on the green screen, which the AI treats as a different color. This causes holes or artifacts in your holographic image. Use two lights positioned at 45-degree angles on either side of the screen to create even coverage.
Once your green screen is in place, enable chroma key removal in your platform or in your virtual camera app. Set the key color to match your green screen, and adjust the threshold and smoothness sliders until the edges around your body look clean. You can then replace the removed background with a solid color, a blurred virtual background, or a custom image.
This physical approach is the most reliable method for professional holographic calls. It requires a small upfront investment in time and materials, but the payoff in call quality is significant.
Optimizing Your Lighting to Improve Background Separation
Lighting is one of the most powerful tools for reducing background visibility in holographic calls, and it is completely free if you already have a window or a desk lamp available.
The goal of lighting for holographic calls is to create maximum brightness difference between you (the foreground) and your background. When you are brighter than your background, every background blur and AI segmentation tool performs better. The depth sensor also reads the contrast between you and your background more accurately.
Start by positioning your main light source in front of you, facing toward your face. This is called front lighting or key lighting. A window behind your monitor or a ring light positioned above your screen works well. Make sure the light source is in front of you, not behind you. Backlit setups cause the system to confuse your silhouette with the darker background, which breaks the depth separation.
Add a second, dimmer light on the opposite side of your face to fill in shadows. This creates even, flattering illumination across your face and chest, which helps the AI segmentation tools recognize your full outline accurately.
Reduce background lighting as much as possible. Close blinds on windows behind you, turn off lamps that illuminate your background, and avoid sitting in front of bright walls. A darker background combined with a brighter foreground gives the segmentation system a clear edge to work with.
Good lighting alone can reduce the effectiveness of background clutter by a significant margin, even before you apply any blur settings.
Decluttering and Organizing Your Physical Background
No technology can fully substitute for a clean physical environment. Before your holographic call, a five-minute physical cleanup of your visible background area will improve your call quality more than any software setting.
Think of the area directly behind you within a three-foot radius as your holographic frame. In a standard 2D call, this area is important. In a holographic call, the depth rendering means that objects at varying distances behind you are all visible and appear spatially accurate to the viewer.
Remove items from your desk that are not part of your professional presentation. Push chairs or furniture out of the camera’s field of view. If you have shelves behind you, organize them so items are evenly spaced and similarly sized. Avoid bright, patterned items in your background, as these create visual noise that the depth sensor struggles to correctly classify.
A simple, consistent background helps the holographic system allocate its processing resources toward rendering you accurately rather than attempting to reconstruct a complex, object-filled scene behind you. Consider designating a specific area of your home or office as your “holographic call zone” and keeping it consistently clean and organized.
If you have the option, place a plain wall, a simple bookshelf with uniform spines, or a solid-colored curtain directly behind you. These elements provide a clean, low-distraction background that enhances both the visual quality of the call and the professional impression you create.
Camera Placement and Distance Settings for Better Depth Capture
Camera placement directly affects how your holographic system reads your background. Most users position their camera incorrectly, which makes background issues worse.
For holographic systems that use depth sensors, the ideal distance between you and your background is at least four feet. This spatial gap gives the depth sensor room to clearly separate the depth of your body from the depth of the background. When you sit close to a wall or cluttered surface, the depth difference between you and the background shrinks, and the system may partially include background elements in your foreground rendering.
Move your chair or seating position forward, away from the wall or background surface behind you. If you are using Google Beam or a similar multi-camera system, follow the setup guide’s recommended distance for your specific unit. These recommendations exist precisely to optimize depth sensor performance.
Camera height also matters. Position your camera at eye level. A camera angled upward tends to capture more ceiling, while a camera angled downward captures more floor and desk clutter. An eye-level camera captures the most useful view of you while minimizing exposure to background distractions above and below.
For webcam-based holographic extensions, make sure your camera resolution is set to its maximum value in your platform’s settings. Higher resolution gives the AI segmentation system more pixel detail to work with, which improves the accuracy of background blur around edges like your hair and shoulders.
Using Virtual Backgrounds Designed for Holographic Calls
When blur alone is not enough, a virtual background can completely replace your real environment. For holographic calls, choosing the right virtual background matters more than it does in a 2D call.
Not all virtual backgrounds work equally well in 3D rendering environments. Flat, brightly colored backgrounds can look unnatural when rendered alongside your three-dimensional holographic image. The best virtual backgrounds for holographic calls are ones that include depth cues, such as slightly out-of-focus architectural elements or natural environments with subtle perspective.
To apply a virtual background, open your platform’s background settings before joining the call. Select “Virtual Background” or “Replace Background” and upload or choose from the available options. Many platforms now offer holographic-optimized backgrounds that are specifically designed to match the depth and perspective characteristics of 3D rendering systems.
If your platform allows you to upload custom backgrounds, choose an image that is at least 1920×1080 resolution with a realistic depth perspective. Avoid plain, flat, solid-color backgrounds unless your platform specifically recommends them for its 3D rendering system, as these can create an uncanny visual disconnect between your realistically rendered holographic image and the flat background.
Platforms like Webex allow administrators to manage and upload approved backgrounds for their organizations, which means you may have access to professionally designed options through your workplace without needing to search for them yourself.
Adjusting Software Settings for Real-Time Performance
Background blur in holographic calls is computationally intensive. If your computer is running multiple applications simultaneously, the blur processing may slow down, lag, or drop in quality during your call.
Closing unnecessary browser tabs, applications, and background processes before starting your holographic call improves the AI blur performance significantly. Open your Task Manager on Windows or Activity Monitor on Mac and close any programs you do not need during the call.
If you use NVIDIA Broadcast, check the Performance tab in the app to see your GPU usage. If your GPU is near 100% during calls, lower the blur intensity slightly to reduce the processing load. A medium-strength blur that runs smoothly is more effective than a maximum-strength blur that stutters.
Ensure your graphics driver is updated. AI background tools rely on specific GPU features that are enabled through driver updates. Outdated drivers can cause blur quality to degrade or the feature to stop working entirely. Check NVIDIA GeForce Experience or AMD Radeon Software for the latest driver updates before important calls.
Internet bandwidth also affects holographic call quality, and this in turn affects how well background blur is perceived. A faster internet connection allows the platform to transmit more spatial data per second, which improves the clarity of the rendered background separation. If possible, use a wired Ethernet connection instead of Wi-Fi for your holographic calls.
Combining Multiple Methods for the Best Results
The most effective approach is to combine physical and software solutions together rather than relying on a single method. Each layer of improvement you add builds on the previous one.
Start with the physical environment. Clean your background, move objects out of the camera’s field of view, and increase your distance from the wall or surface behind you. This gives you a strong foundation.
Next, set up your lighting. Position a front light to illuminate your face brightly and reduce background lighting as much as possible. This sharpens the contrast between you and your background.
Then, apply software blur. Use your platform’s built-in blur setting first. If the result is not strong enough, add NVIDIA Broadcast or VCam as a processing layer between your camera and the platform.
If you regularly use holographic calls in a professional setting, consider adding a green screen behind you as a semi-permanent part of your setup. Use chroma key removal to replace it with a virtual background optimized for holographic rendering.
Finally, test your setup before every important call by joining early and reviewing your own video preview. Check the edges around your hair and shoulders, look for any background items that are breaking through the blur, and adjust your camera angle if needed. A two-minute preview check before the call starts catches problems before your audience ever sees them.
This layered approach consistently produces the cleanest, most professional holographic call appearance regardless of the platform you use or the environment you work in.
Troubleshooting Common Background Blur Problems in Holographic Calls
Even when everything is set up correctly, background blur can sometimes behave unexpectedly. Here are the most common problems and their solutions.
Problem: The blur cuts into your face or body edges. This happens when the AI segmentation system cannot clearly see the boundary between you and your background. The fix is to improve your front lighting. More light on your face creates a stronger contrast at your silhouette’s edge, which helps the AI identify where you end and the background begins.
Problem: Background objects are still visible through the blur. This usually means the blur intensity is set too low, or a specific object is too close to you and falls within the foreground depth range. Increase the blur strength in your platform or app settings, and physically move or remove the item that is breaking through.
Problem: The blur causes lag or freezing during the call. This is a performance issue. Lower the blur intensity, close background applications, and update your graphics driver. If the problem continues, switch to a lighter tool like the platform’s native blur instead of a third-party application.
Problem: The virtual background looks flat or unnatural against your holographic image. Choose a background with natural perspective depth rather than a flat image. Some platforms offer holographic-optimized backgrounds specifically for this reason.
Problem: Blur works well in preview but fails during the call. This can happen when the call itself consumes more CPU and GPU resources than the preview, leaving less power for the blur processing. Lower your call’s video resolution by one step in the platform’s quality settings to free up resources for the blur.
Frequently Asked Questions
What is the easiest way to blur the background in a holographic video call?
The easiest method is to use your platform’s built-in background blur setting. Open your video settings before the call, find the Background Effects section, and select Blur. Platforms like Webex and Google Beam include this feature natively, and it takes under two minutes to enable. This requires no extra software, hardware, or technical knowledge.
Can I use NVIDIA Broadcast for holographic video calls?
Yes, NVIDIA Broadcast works with most holographic video platforms by acting as a virtual camera. You set up the blur effect in NVIDIA Broadcast, then select the NVIDIA Broadcast virtual camera as your video input in the holographic platform’s settings. This routes your video through NVIDIA Broadcast’s AI blur before sending it to the holographic call.
Does a green screen work with holographic video systems?
Yes, and it is one of the most effective solutions. A green screen provides a uniform, single-color background that depth sensors and AI segmentation tools can isolate with near-perfect accuracy. Apply chroma key removal through your platform or a virtual camera app, and replace the green with a virtual background optimized for 3D rendering.
How far should I sit from my background in a holographic call?
A minimum distance of four feet between you and the background surface behind you is recommended for holographic systems that use depth sensors. Greater distance creates a clearer spatial separation that the depth sensor can measure accurately, which improves both background blur and overall holographic image quality.
Why does my background blur look different in holographic calls compared to regular video calls?
Holographic systems use depth data in addition to flat video. This means the blur effect must work in three-dimensional space rather than on a flat image. Objects at different depths behind you may blur differently or incompletely. Physical distance from your background, good front lighting, and using a holographic-optimized blur setting from your platform produces the best results.
Will a cluttered background affect the quality of my holographic rendering?
Yes, significantly. The depth sensor in holographic systems maps everything in its field of view. A cluttered background creates a complex spatial map that the system must process, which can reduce the accuracy of your foreground rendering. A clean, simple background allows the system to focus its processing power on rendering you accurately, which improves the overall visual quality of the holographic call.
Do I need special equipment to blur my background in holographic calls?
Not necessarily. Most holographic platforms include built-in blur tools that require no additional equipment. For better results, a ring light or desk lamp for front lighting improves AI segmentation accuracy significantly. For professional-grade results, a physical green screen provides the cleanest possible background separation, but it is optional rather than required.
What virtual backgrounds work best for holographic video calls?
Virtual backgrounds with natural depth cues work best. These include blurred architectural spaces, natural environments with perspective, or professional office settings photographed with depth of field. Avoid flat, solid-color images unless your platform specifically recommends them. High-resolution images of at least 1920×1080 pixels produce noticeably better results than lower-resolution options.

I’m a tech enthusiast who loves breaking down gadgets, apps, and tools into simple, honest reviews. At GenResizeHub, I help you make smarter buying decisions through in-depth comparisons and easy-to-follow guides. Got a question? Drop me a mail!